How To Draw A Kingfisher Bird


Let's draw a Kingfisher bird. Why did I chose Kingfisher? It's simple because I like Kingfisher. These birds are truly awesome.
It’s a lovely and clever small creature and you may be lucky if you spot some in the wilderness.
Besides, drawing a Kingfisher bird is also an excellent exercise for practicing drawing birds.
The shape of the body is very simple so even if you make a few mistakes it is OK. Just get a pencil and paper and let's begin to sketch.
Let's Draw A Kingfisher Bird Step by Step

Before you make the first pencil strokes, try to divide the body into smaller sections.
Both the head and the trunk are ellipses. You can also notice that the back curve continues directly to the beak.
It is – of course – an imaginary line, but it helps a lot to create balance and capture the best proportions.
When you draw a kingfisher bird you need to seriously capture 2 basic body volumes as accurately as possible in the beginning.
Those are the head and the trunk.

From now on you can begin to refine the detailed drawings.
Observe how each part of the body is of a different color.
- The belly is of orange color.
- The back and the wings are blue.
- The throat area and area below cheeks is white.
- The head is blue in general
- Divide these areas. Outline the eyes.
Please make special attention when you draw the eye. Notice how close the eye actually is to the beak. It almost touches it.
Almost every bird has an eye very close to the beak.
But when we draw birds out of our heads (without seeing one) we tend to draw the eye in the middle of the head and wonder why this bird looks so unnatural.
You’ve just discovered a drawing technique trick of how to draw a kingfisher bird.

Draw the eye. Draw it in detail if possible.
If you’ll have the eyes ready, suddenly the bird will start being more alive than only a drawing.
Work out the beak as best as you can.
Kingfisher has rather a huge beak compared to the bird’s body. Such beak needs a little detailed “make up”.

By very gentle pencil touch, outline the feathers on the wings and on the back.
These weak lines will serve you as important guidelines when you draw a bird in color (pencils or another medium).
Make sure you have the eye done right. Notice that the eye is the darkest in the middle.
There are two small light reflection spots on the upper side of the eye. Draw them, I mean use your pencil-shaped eraser or kneaded eraser and make those highlight spots there. Those light spots will make the bird look more realistic.

Now you can begin to put color. The reason I started with orange-colored body parts is that those are the easiest to color.
Blue-colored feathers need a little detailed work.
So work out the orange color first. Notice that the feathers on the bird’s belly are made by single pencil strokes of different intensities.
Some parts are darker orange and some are very light.

When you have the orange part almost ready, you can begin to put color on the blue parts.
I would recommend coloring all in the same intensity without pushing the pencil.
Just blunt light blue color.
Mind, however, that you make the pencil strokes in the same direction as the feathers – simultaneously.
That will create a natural realistic look.


Although I am teaching you here how to draw a bird, I am also a human, making mistakes; so I want to show you what I just did.
I was “too much in a hurry” and made too strong wing feather contour outlines.
Originally I didn’t want to let you see this mistake but since we all can learn from this I want to show it to you…not to make the same “quick step”.

Here I erased and softened these feather outlines. Now they are acceptable but we shall work them out later.

Here comes a little difficult part. But only a little. The feathers on the Kingfisher bird’s head and the neck (collar).
They are combined with darker spots. These spots are an effect of layers of the feathers.

In the first paragraphs, I mentioned that to learn how to draw a bird you need to master how to capture two basic body parts; the head and the trunk.
When you draw a Kingfisher bird, the beak is very distinctive and needs special attention in order not to destroy the drawing you’ve just made.
I used two colored pencils to create the best possible look of the beak.
- black color pencil (not graphite pencil!)
- dark green color pencil
Combine these two colored pencils on separate paper first.
Leave the bright line in the middle of the beak and try to make the shades on the beak look as natural as possible.

Gradually continue to put darker blue on all blue parts where necessary.
On the back, you can occasionally use also orange.
Be very careful with the orange color on the blue parts because you’ll easily get an unwanted green.
The green color actually is there, but very weak. Almost insignificant.
It is better if you add a suitable background color when you draw a kingfisher bird. The background color should come as the last – if you draw on white paper.
A good idea is to draw on colored paper from the beginning.
Kingfisher’s natural environment is water with greenery.
I put this moss green background so that the white part on the throat will also be visibly better.
Did You Enjoy Drawing Kingfisher Bird?
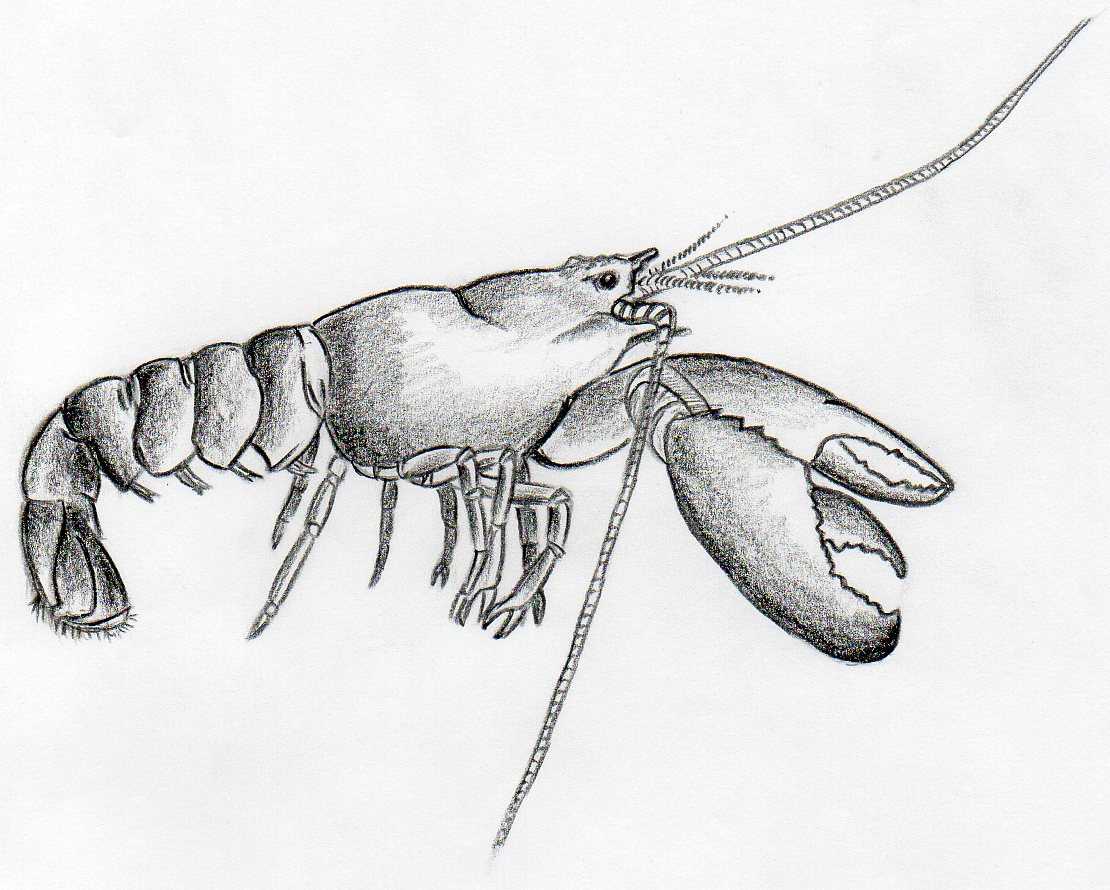
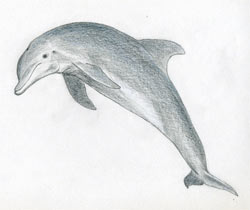
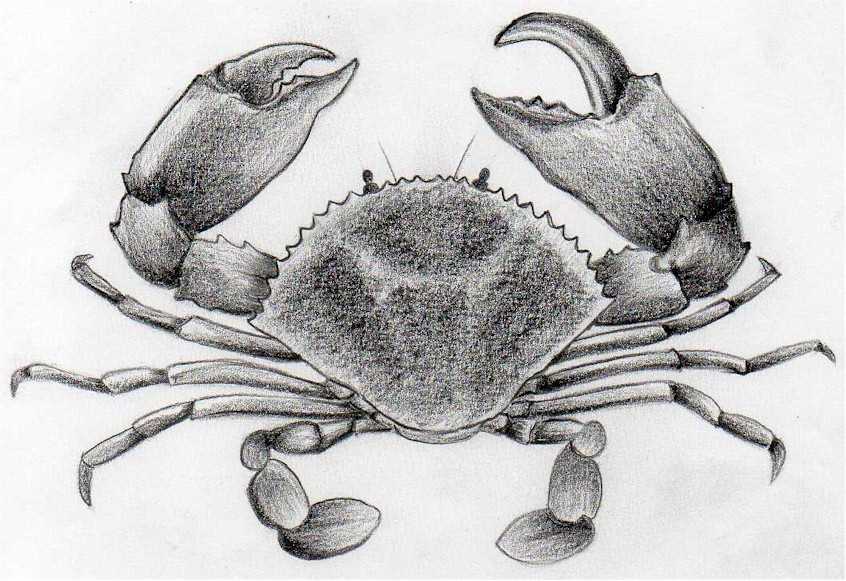
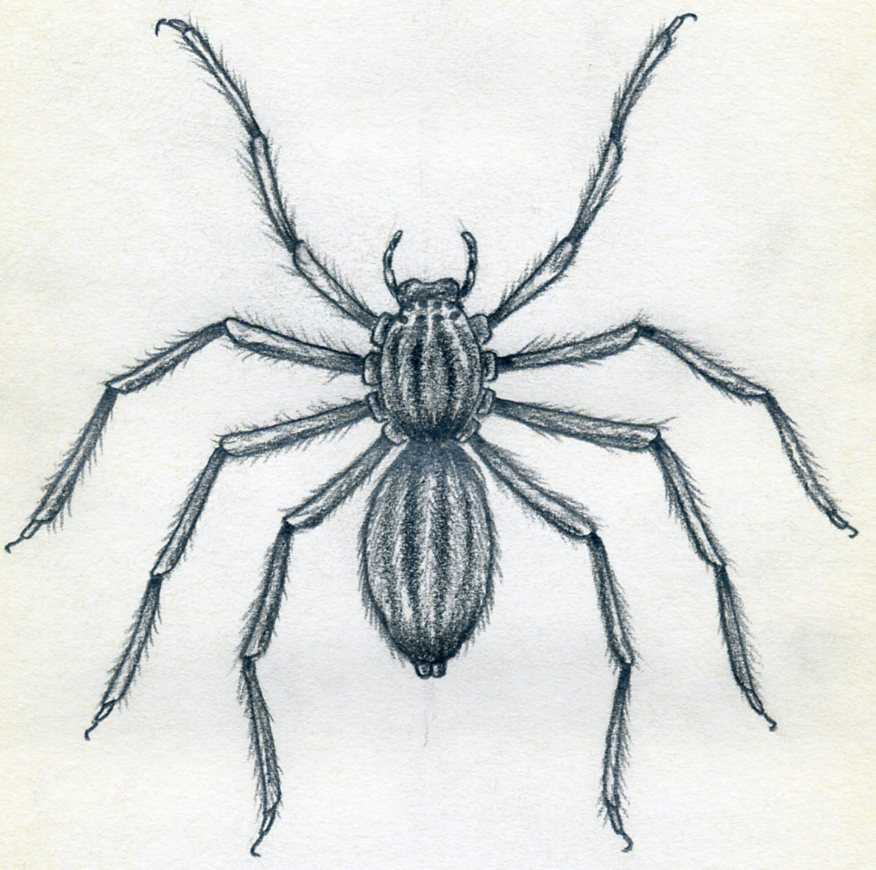
Check Out Also These Animal Drawing Tutorials:
 |
 | ||
 |
 | ||
|
|
 | ||
 |
 | ||
 |
 | ||
 |
 | ||
 |
 | ||
 |
 | ||
 |
 | ||
 |
 | ||
 |
 | ||
 |
 | ||
 |
 | ||
 |
 | ||
 |
 | ||
 |
Visitors Personal Gallery Pages
Please see and enjoy the following collection of personal galleries. We all believe you will have a lot of fun. Observing others’ artwork is always, always very inspirational. You may get some new ideas for your own drawings.
 |
 | ||
 |
 | ||
|
|
 | ||
 |
 | ||
 |
 | ||
|
|
 | ||
 |
 | ||
 |
 | ||
 |
 | ||
 |
 | ||
 |
 | ||
 |
 | ||
 |
 | ||
 |
 | ||
 |
 | ||
 |
 | ||
 |
 | ||
|
|
 | ||
 |
| ||
 |
 |
Theme Based Visitors Galleries
The following Theme Based Galleries are a collection of selected drawings from various authors based on a certain theme. I would like you to get as much inspiration as possible for your own drawings.
 |
 | ||
|
|
| ||
 |
| ||
|
|
| ||
 |
And Now It's Your Turn
SHARE YOUR DRAWINGS
Select The Category and Follow The Uploading Instructions
Share your own drawings, sketches or doodles by choosing a suitable
category below. You will be guided to the uploading process step by
step.


Latest Visitor's Drawings
-
Loneliness
Jul 20, 24 08:03 PM
Loneliness -
A macho man kills a poisonous snake
Jul 18, 24 09:15 AM
 A macho man kills a poisonous snake.
 -
Jude Bellingham
Jul 15, 24 09:01 AM
 This is my method of drawing an Englishman Jude Bellingham on Microsoft Paint. He was born in Stourbridge, West Midlands, England, United Kingdom on 29th
 -
Fatty people are stupid fellows
Jul 14, 24 08:46 AM
 Fatty people are stupid fellows.
 -
Face the present time
Jul 14, 24 08:45 AM
Face the present time. -
cricket
Jul 02, 24 04:26 PM
 cricket
 -
Three Generations: Grandfather, Father and Son
Jun 26, 24 05:52 PM
 Three Generations: Grandfather, Father and Son
 -
The Shapers heads
Jun 26, 24 07:23 AM
This is my drawing of the Shapers heads for the fake Nickelodeon animated series of the same name on Microsoft Paint. In order, they're Purple Square, -
Where nature dominates
Jun 24, 24 09:26 AM
 Imaginary ballpoint pens art. In this fast and furious world dominated with pollution and skycrapers, we need this type of peacable place for anti-stress
 -
Never argue with the barking dogs
Jun 24, 24 09:23 AM
Never argue with the barking dogs. -
Imaginary pen art on bristol paper
Jun 22, 24 07:28 AM
 Colourful nature done with ballpoint pens.
 -
Imaginary pen art, beautiful nature
Jun 22, 24 07:22 AM
Ballpoint pens art showing a peaceful place. The grass was made with light green pen and application of lemon yellow watercolour. -
Old building in forest
Jun 22, 24 07:20 AM
 Imaginary ballpoint pens art. An old building in a forest.
 -
Typical Mauritius
Jun 22, 24 07:19 AM
Imaginary ballpoint pens art showing typical Mauritius. -
Inspired by Mumbai city
Jun 22, 24 07:16 AM
 Some years back was watching a video about Mumbai city. Inspired by it, I decided to make an imaginary art showing the atmosphere of it.


