How to Draw Tulip Flowers

I guess everyone likes tulip flowers and, I hope that you love them too. For me, tulips flowers always mean spring time.
Especially the month of May when everything is so fresh.
The skies are fresh, the air is new, new hopes, new plans…you just name it.
Each time I transit the Amsterdam Airport I can’t help to stop at the airport tulip souvenir shop.
They sell bulbs of various tulip species.
They are amazing!
Many of us associate tulips with the Netherlands.
But, did you know that the name of the tulip and the flower itself originates in Persian Empire?
I picked this simple tulip flower as a drawing exercise. You are going to love it!
Check out this Video Tutorial
Do You Love to Draw Tulip Flowers?

While observing this picture, concentrate on three important features of this tulip:
- How the stem is curved
- How the leaves are shaped, folded
- Proportions of the head of tulip to the whole flower
If you can capture these 3, you can draw a proportionally well-balanced flower.

Draw the stem by one single and weak pencil line. Remember how the stem is curved?
Approximately on the top of that sketch is the flower head.

Outline the contours of leaves. Tulips usually have straight leaves but they tend to fold on the lower part of the stem.

Begin to work out the leaves so that they will start to look like real leaves.
Make special attention to the lowest leaf. Yes, that which is folded outwards. Why?
Because that leaf gives this tulip a more realistic look. Can you notice that?

Decide the thickness of the flower stem proportionally to the whole size of the flower. Not too thick and not too slim.
Also notice where the leaves cover the stem and, where the leaves cover each other. This is important!
Tulips are very easy to draw but three-dimensional pictures have certain rules we must obey.

Outline the contours of tulip petals and you can erase unnecessary pencil lines.

Now, you will need two color pencils:
- pink color pencil
- green color pencil
Draw the contours of the flower by coloring pencils over the initial graphite pencil lines.
Be careful! The flower head is pink and the rest is green. Erase all residual graphite pencil lines and your drawing should look like this or better.
Now you have a beautiful template for the tulip flowers coloring page.

Use the same two-color pencils and fill up the green parts and the tulip head.
No shading yet - just plain, weak, as if a smoky color.

Add darker red and pink color tones on the petals. The lower part of the head is slightly brighter (lighter), almost white.

The petals are now shining in bright red color ;-)
Add more dark green to the flower stem and similarly begin to darken the leaves.

Since the upper two leaves are folded along the length, the inner parts become naturally darker – as if in a shade.
You can experiment with green leaves, shading them a bit. Unleash your fantasy. Make your drawing better than mine!
I think you now agree with me when I said, that tulip flowers are really easy to draw ;-)
Let’s Draw This Tulip As Twice As Fast

Let’s polish your tulip flowers drawing skills further. Just observe and draw from the pictures without reading my comments.

Outline the stem, the tulip’s head, and the leaves. Do it as quickly as you can using a tilted pencil grip.

Mark out the contours of the tulip’s petals. Shapes of tulip petals usually determine the image of the whole flower. Keep this in mind while you are drawing tulip flowers.
Decide the thickness of the flower stem and draw the contours of all three leaves.
Notice how the leaves fold and where, how they cover the stem and each other.

Take two color pencils:
- pink
- green
Outline the contours of the flower as you see in the picture. Carefully because colored pencils are not so easy to erase as graphite pencils.

Erase the residual graphite pencil lines so that only green and pink colored pencil lines remain.

Now, just flat color both, green part and the pink part. No shading yet.

I always begin to draw the details from the flower’s head and, I also recommend you to do the same.
You can keep control over your tulip drawing. In other words, once you have the tulip’s head ready, you are more than seventy percent done.
Shading the leaves of tulip flowers is the easiest part and doesn’t require special care as it is in other flowers.

When the tulip’s head is finished begin to shade the leaves.
You’ll need one or two different darker green color tone pencils to do it.

Notice, that the inner area where the leaf curls its edges around the stem is naturally darker, so make it look darker.
You’ve finished both drawing exercises; you are now well equipped to be able to draw any kind of tulip flower of your choice.
Did You Enjoy Drawing Tulip Flowers?
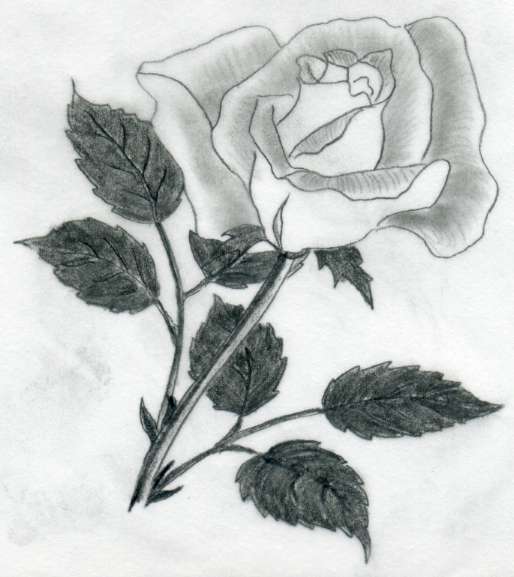
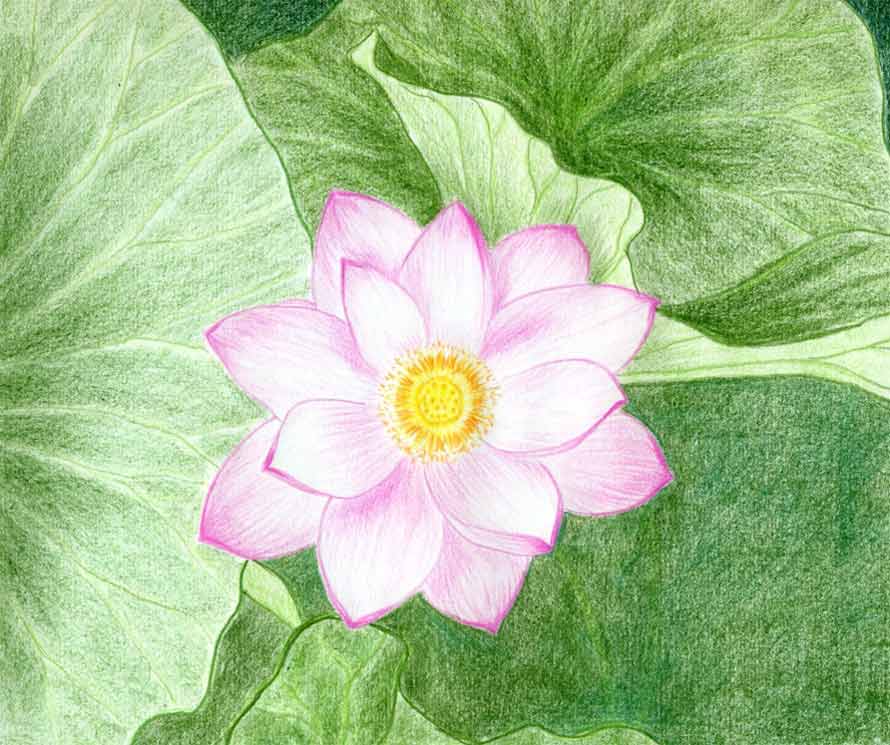
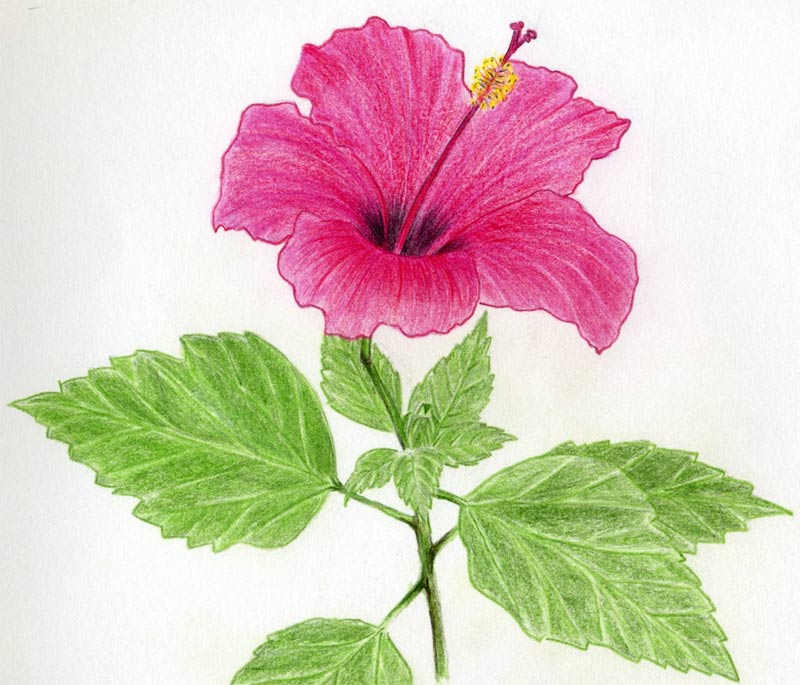
Check Out Also These Flower Drawing Tutorials:
|
|
 | ||
 |
 | ||
|
|
 | ||
 |
 | ||
 |
Visitors Personal Gallery Pages
Please see and enjoy the following collection of personal galleries. We all believe you will have a lot of fun. Observing others’ artwork is always, always very inspirational. You may get some new ideas for your own drawings.
 |
 | ||
 |
 | ||
|
|
 | ||
 |
 | ||
 |
 | ||
|
|
 | ||
 |
 | ||
 |
 | ||
 |
 | ||
 |
 | ||
 |
 | ||
 |
 | ||
 |
 | ||
 |
 | ||
 |
 | ||
 |
 | ||
 |
 | ||
|
|
 | ||
 |
| ||
 |
 |
Theme Based Visitors Galleries
The following Theme Based Galleries are a collection of selected drawings from various authors based on a certain theme. I would like you to get as much inspiration as possible for your own drawings.
 |
 | ||
|
|
| ||
 |
| ||
|
|
| ||
 |
And Now It's Your Turn
SHARE YOUR DRAWINGS
Select The Category and Follow The Uploading Instructions
Share your own drawings, sketches or doodles by choosing a suitable
category below. You will be guided to the uploading process step by
step.


Latest Visitor's Drawings
-
Loneliness
Jul 20, 24 08:03 PM
Loneliness -
A macho man kills a poisonous snake
Jul 18, 24 09:15 AM
 A macho man kills a poisonous snake.
 -
Jude Bellingham
Jul 15, 24 09:01 AM
 This is my method of drawing an Englishman Jude Bellingham on Microsoft Paint. He was born in Stourbridge, West Midlands, England, United Kingdom on 29th
 -
Fatty people are stupid fellows
Jul 14, 24 08:46 AM
 Fatty people are stupid fellows.
 -
Face the present time
Jul 14, 24 08:45 AM
Face the present time. -
cricket
Jul 02, 24 04:26 PM
 cricket
 -
Three Generations: Grandfather, Father and Son
Jun 26, 24 05:52 PM
 Three Generations: Grandfather, Father and Son
 -
The Shapers heads
Jun 26, 24 07:23 AM
This is my drawing of the Shapers heads for the fake Nickelodeon animated series of the same name on Microsoft Paint. In order, they're Purple Square, -
Where nature dominates
Jun 24, 24 09:26 AM
 Imaginary ballpoint pens art. In this fast and furious world dominated with pollution and skycrapers, we need this type of peacable place for anti-stress
 -
Never argue with the barking dogs
Jun 24, 24 09:23 AM
Never argue with the barking dogs. -
Imaginary pen art on bristol paper
Jun 22, 24 07:28 AM
 Colourful nature done with ballpoint pens.
 -
Imaginary pen art, beautiful nature
Jun 22, 24 07:22 AM
Ballpoint pens art showing a peaceful place. The grass was made with light green pen and application of lemon yellow watercolour. -
Old building in forest
Jun 22, 24 07:20 AM
 Imaginary ballpoint pens art. An old building in a forest.
 -
Typical Mauritius
Jun 22, 24 07:19 AM
Imaginary ballpoint pens art showing typical Mauritius. -
Inspired by Mumbai city
Jun 22, 24 07:16 AM
 Some years back was watching a video about Mumbai city. Inspired by it, I decided to make an imaginary art showing the atmosphere of it.


